Another Post from my far distant past!! Cannot remember when I started this post, but today I finished it!
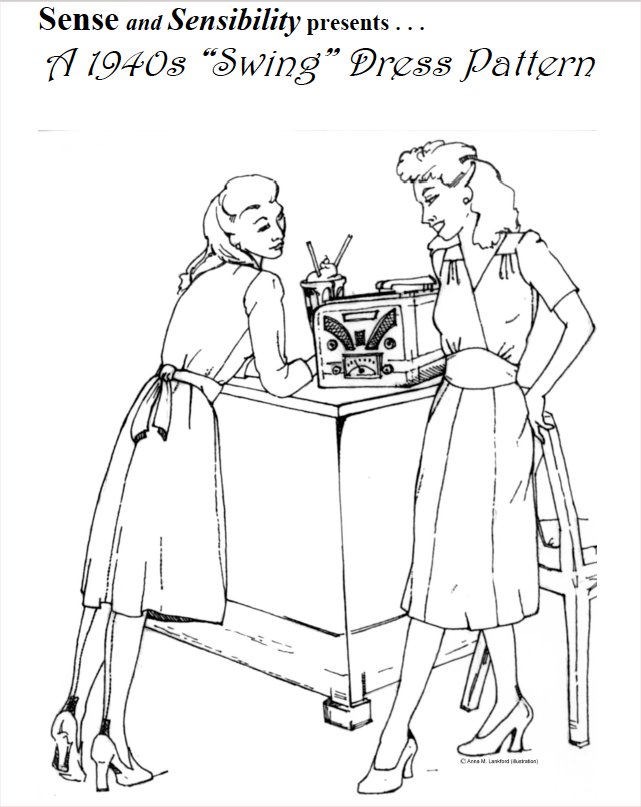
The Sense and Sensibility Swing Dress
Ahh the forties and fifties; you had a top, you had a bottom, you had a nipped in waist. All neatly defined, sectioned off if you will. No more 1920s straight up and down shenanigans. I love this style of fashion, second only to the empire line, floaty, regency style.
If I were not a mother I would live in long, white, dresses, lying on chaise lounges, or lounging under weeping willows in the park, eating cheese and grapes. I would shop in glamorous dresses, with the appropriate hat and gloves of course. But, alas, spaghetti, grubby hands and red wine do not wear well on white dresses. My weight goes up and down too much for glamorous nipped in waists. And I don’t own a chaise 🙂
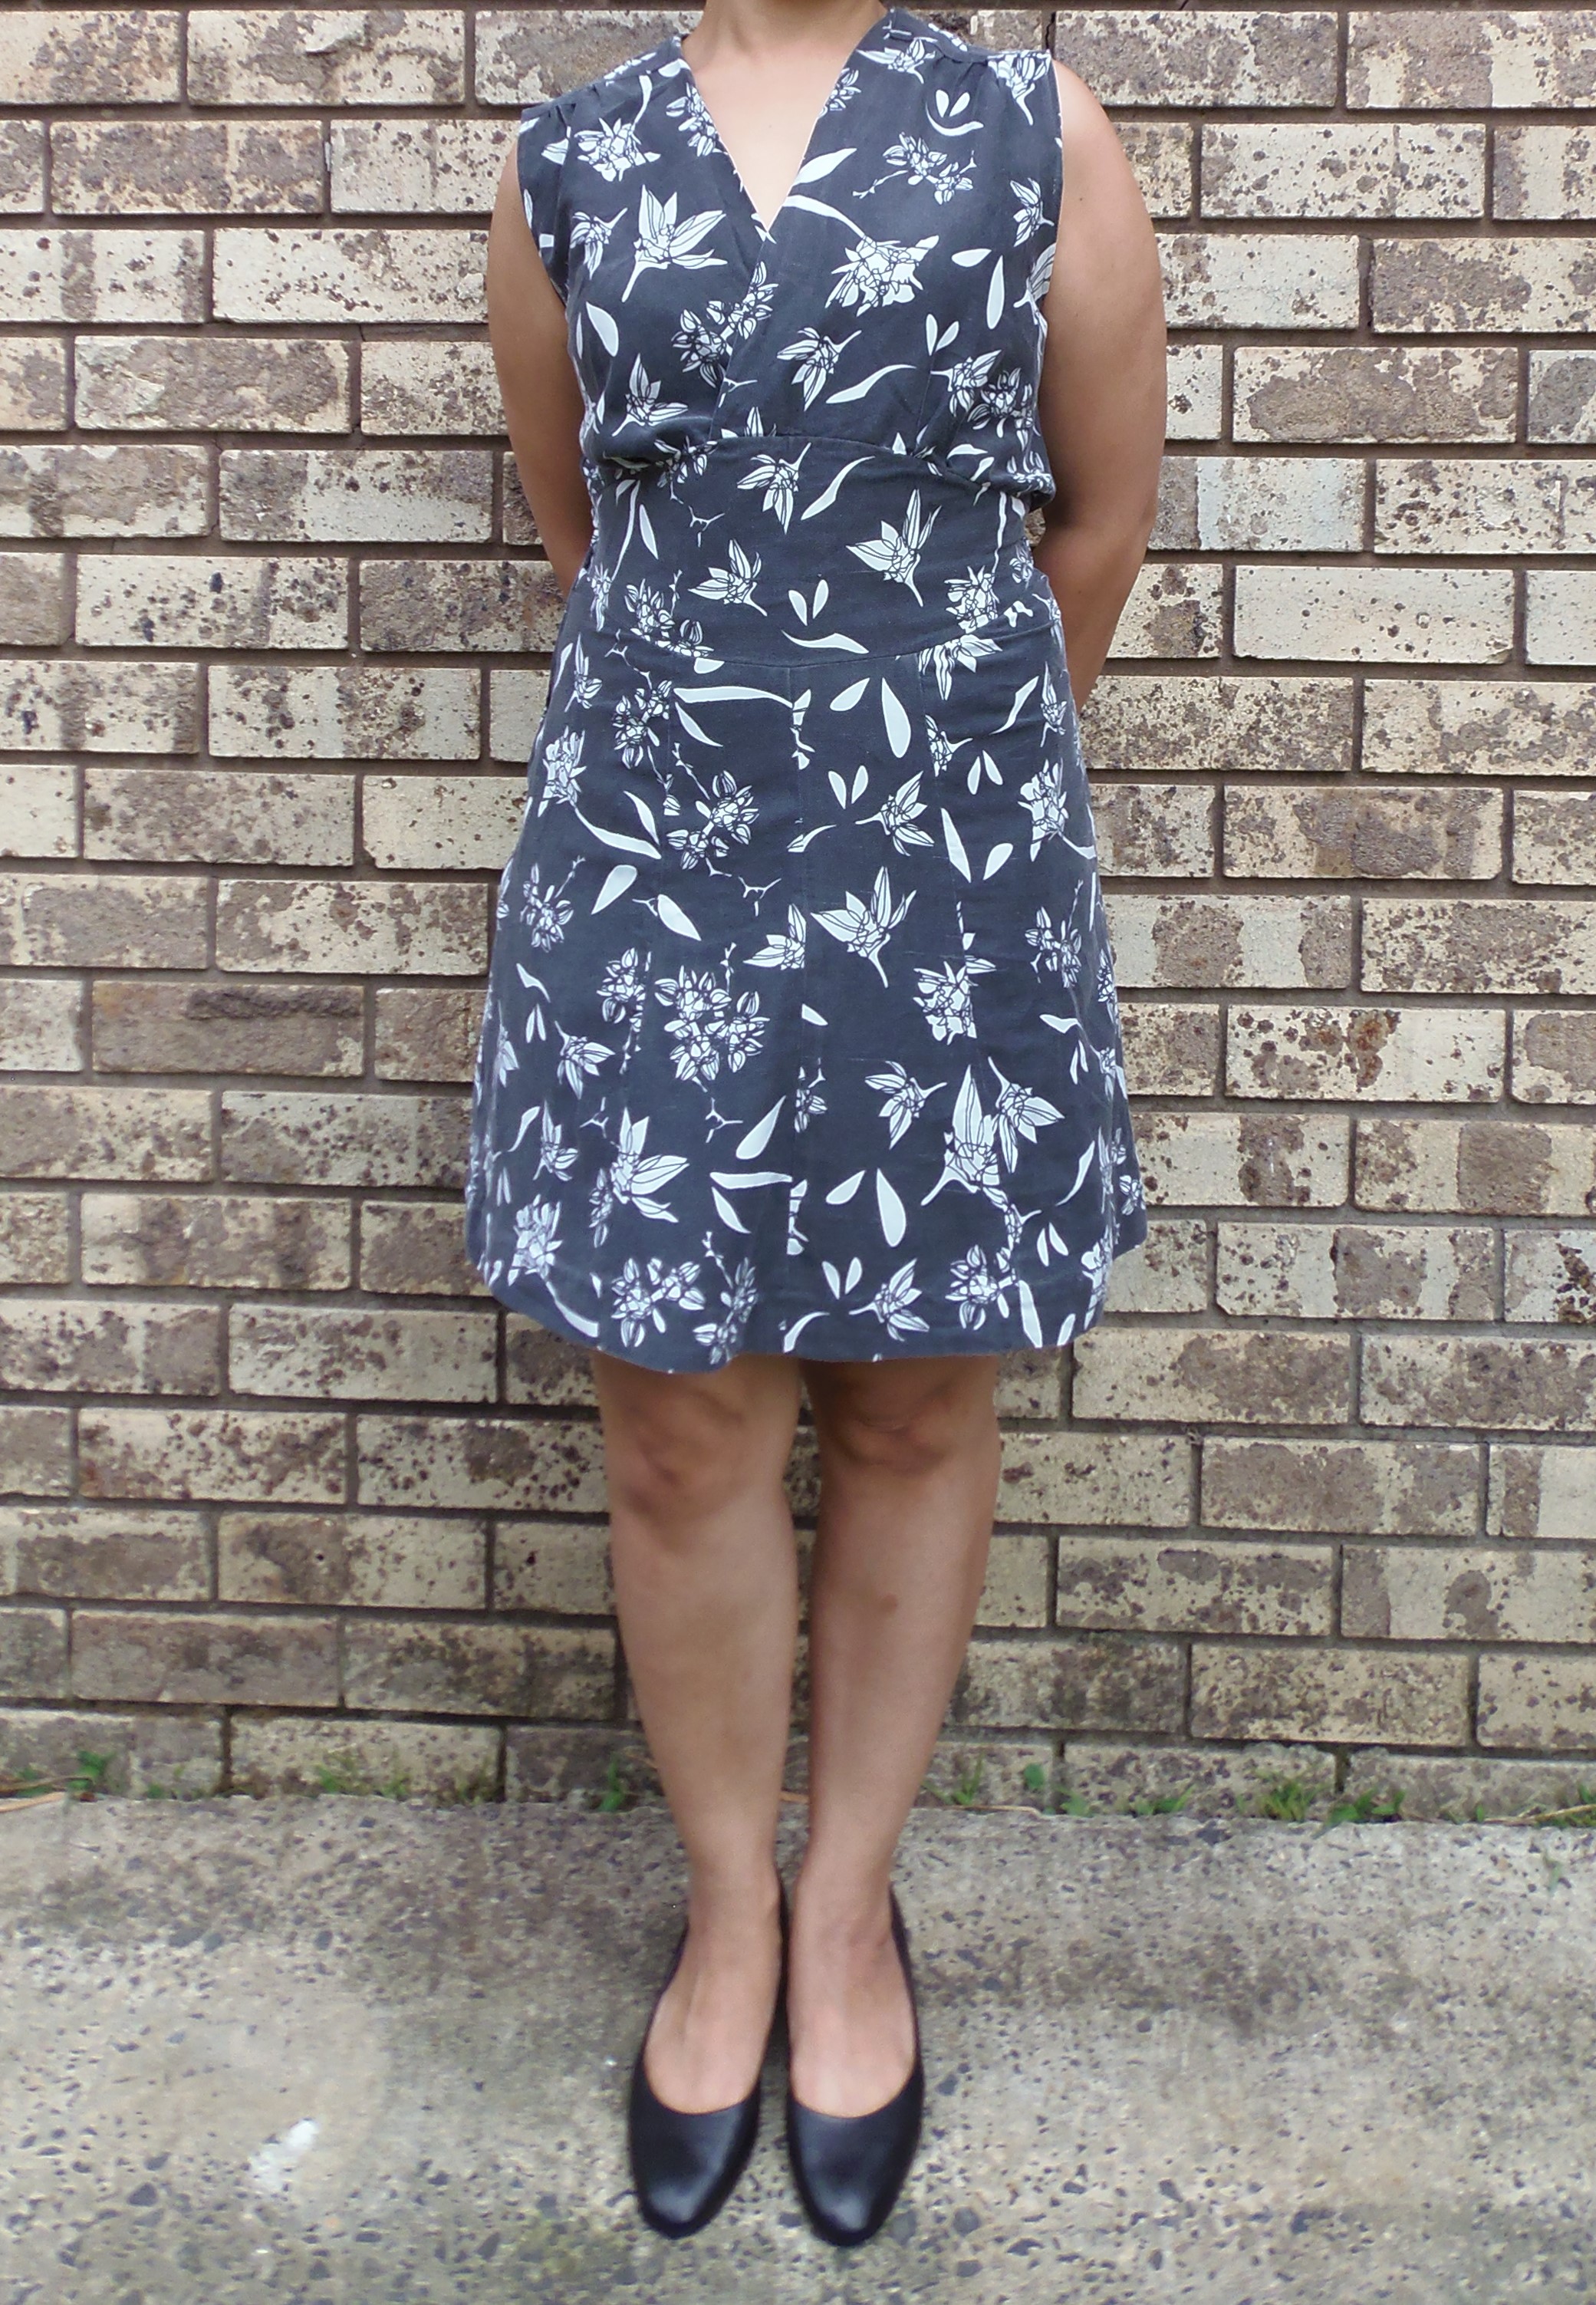
However, I have just finished the Sense and Sensibility Swing Dress. And I love it! Definitely more than one in my future.
Click picture to go to Sense and Sensibility Website


I only made it as a wearable muslin, to see how the fit etc. is, and cut a straight a size 20 based on my hips, rather than grading from the size 18 bust to a 20 hip, which is what I usually do. I did start by using the pattern instructions, but I got stuck on the bodice/neckline area. I went to the Sense and Sensibility website, I used the tutorial on the site here. The written instructions also really assumes experience with details such as overlocking the seams, applying interfacing etc., and perhaps are not included because it is a period pattern and maybe these details were not used at that time. However, the tutorial link above covers all of these in detail. I suggest that if you are a beginner, or like me and just need more detailed instructions, the tutorial should be your first port of call when making this dress,plus there are instructions on adding pockets!!
I applied interfacing to the belt, and the midriff area, and the back neck facing. I also underlined the midriff area as the fabric I used was very soft and drapey and I felt I needed more structure in that area. Actually, the fabric I used was an old duvet that had been through the washing countless times and had a large rip down one side. When I first tried it on my husband asked me if that was our duvet, and if I was now resorting to using our bedding instead of buying new fabric 🙂
I attached the sleeves, and then tried it on, but I didn’t like the look of the sleeves, plus I couldn’t get the dress off. I got stuck and needed my daughter to pull me out of it! The top of my arms are quite big compared to my torso, and my shoulders are also wide, so this is to be expected. I will have to do some redrafting in the sleeve area if I want to do this pattern again. Instead I unpicked the sleeves and made it sleeveless, by sewing a narrow hem. I should have used binding it or even made a facing, it would have been a neater finish. Of course by now I had gotten lazy, so I didn’t redraft the arm hole so the whole area is a little too low and a little too large. From the back it does make me look quite wide with the sleeves gone, but I do like it better.
Yes it is a little short, but I have a good 1 1/2 inches in the hem, so will let it down at some time.
NB for next time:
- Cut the 18 bodice and 20 skirt.
- Redraft sleeve to accommodate my arms, although I quite like the sleeveless look! But I also want a 3/4 sleeve
- Not so short next time, possibly knee length I think.
- Use a stiffer, slightly heavier fabric next time.
- Underlining is a great idea in the midriff, plus it hides the interfacing.
- Try Hong Kong seams inside.
I like it, my girls love the shape on me, I love the midriff, and the short tie belt. This is a real winner. A bit slow to start off with, progressing into quite a quick, easy make. I found so many possibilities and ideas I will definitely be making more, probably not using another duvet, but who knows.
Be the first to reply